Practical · 8 min read
Safari Photography Guide for the Northern Circuit
The difference between snapshots and photographs on safari is mostly timing, a beanbag and knowing when to put the camera down.
The short answerFor Tanzania safari photography bring a 100–400mm zoom plus a wide lens for landscapes, shoot in the first and last two hours of light, use shutter priority at 1/1000s or faster for moving animals, bring twice the memory and battery you think you need, and protect everything from dust with sealed bags.
You do not need professional gear to come home with photographs you are proud of. You do need to be ready before the sighting happens, because on safari it almost always happens faster than you expect.
What to bring
Phones do surprisingly well on landscapes and camp life and badly on distant animals. If you only have a phone, ask your guide to get closer rather than zooming.
- ·A telephoto zoom: 100–400mm covers almost everything; 70–200mm is workable, 600mm is a luxury.
- ·A wide or standard lens for landscapes, camps and the baobab and crater views.
- ·A beanbag — far more useful in a vehicle than a tripod, which cannot be used inside.
- ·Two or three batteries and double the memory cards you think you need.
- ·Sealed bags or a dry bag for dust, plus a blower and microfibre cloths.
- ·Binoculars — you will use them more than the camera.
Settings that work
Shutter priority at 1/1000s or faster freezes moving animals; drop to 1/250s for a resting subject to keep the ISO down. Auto ISO with a ceiling around 6400 saves you in the low light of dawn drives.
Shoot in RAW if you can — dawn and dusk on the plains produce contrast no JPEG engine handles well. Use continuous autofocus and burst mode: the frame where a lion looks straight at you is one of thirty.
Working from a vehicle
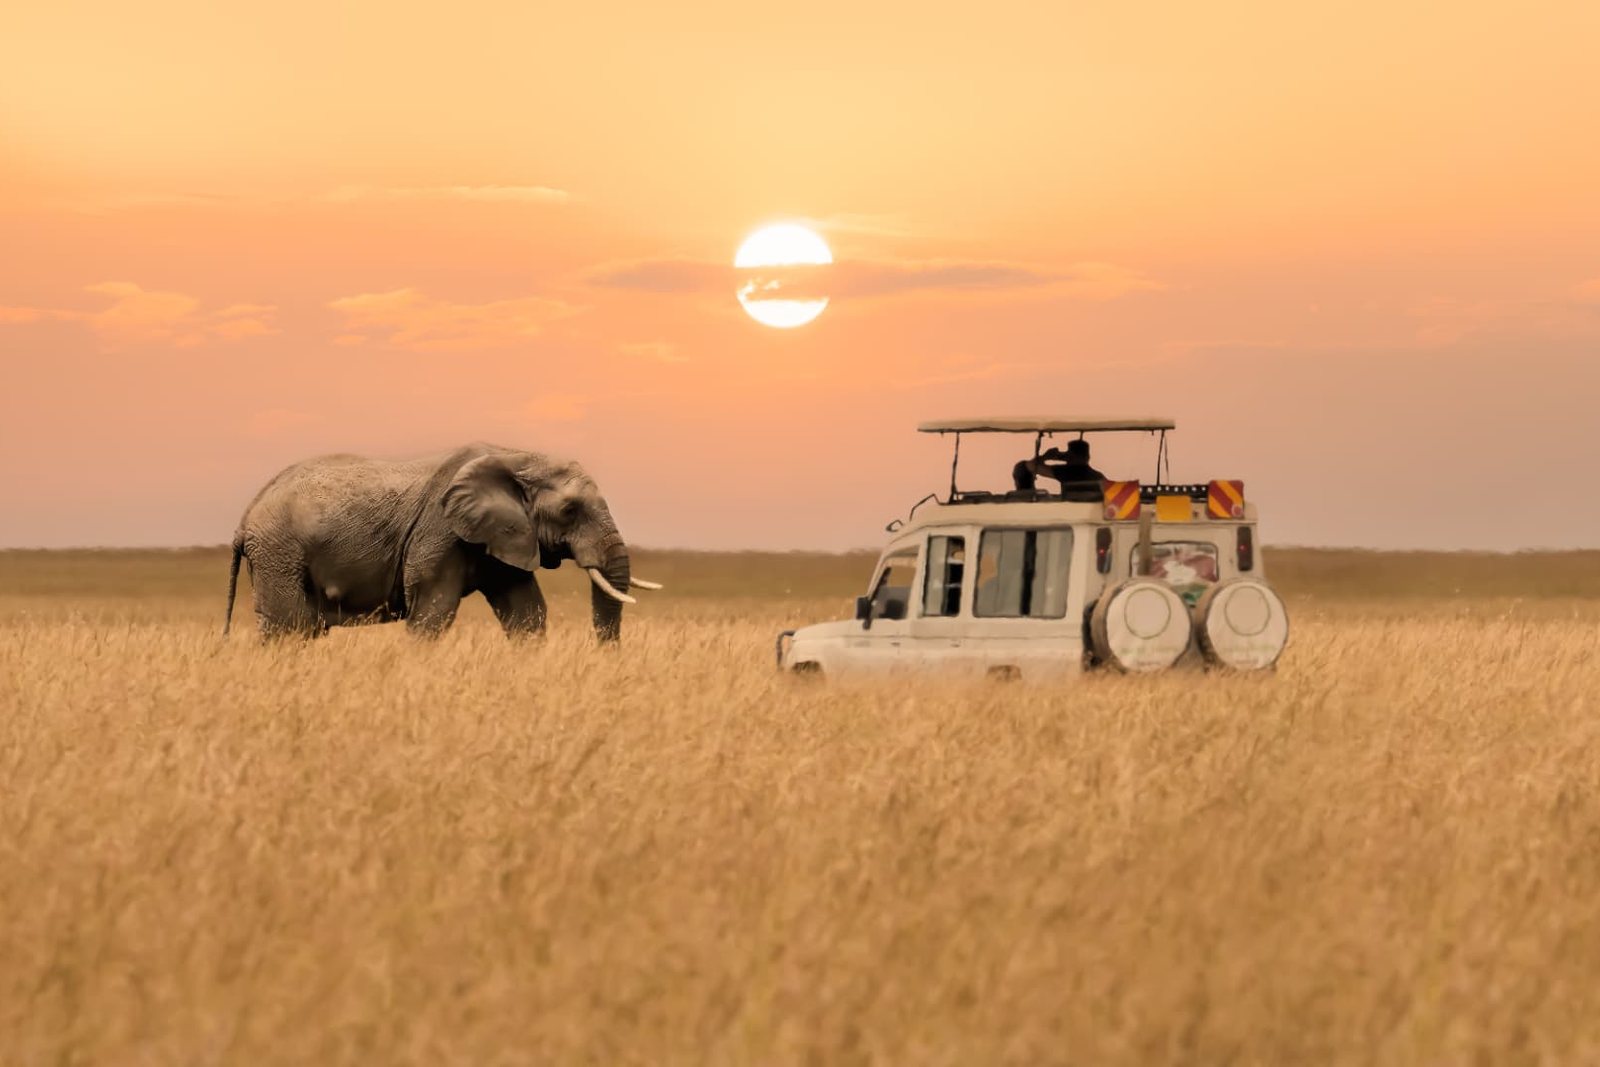
Ask your guide to switch off the engine before you shoot; the vibration ruins more images than shake does. Rest the lens on a beanbag on the roof hatch or window frame rather than holding it out.
Shoot from a low position where possible — eye level with the animal is what makes a photograph feel intimate rather than touristy. And tell your guide what you want; ours will position the vehicle for the light instead of the closest view if you ask.
Light and timing
The good hours are 06:00 to 09:00 and 16:30 to sunset. In between, the light is flat and harsh, which is when to photograph landscapes, textures and camp life or simply rest.
The green season, November to March, gives the most dramatic skies of the year. The dry season gives dust, backlight and golden haze — different tools for different pictures.
Photographing people, respectfully
Always ask before photographing anyone, in a Maasai boma, at Materuni or at the orphanage. Some communities expect a small payment; your guide will tell you what is appropriate. Never photograph children without the explicit permission of the adults responsible for them, and do not publish images that identify a child in care.
And then put it down
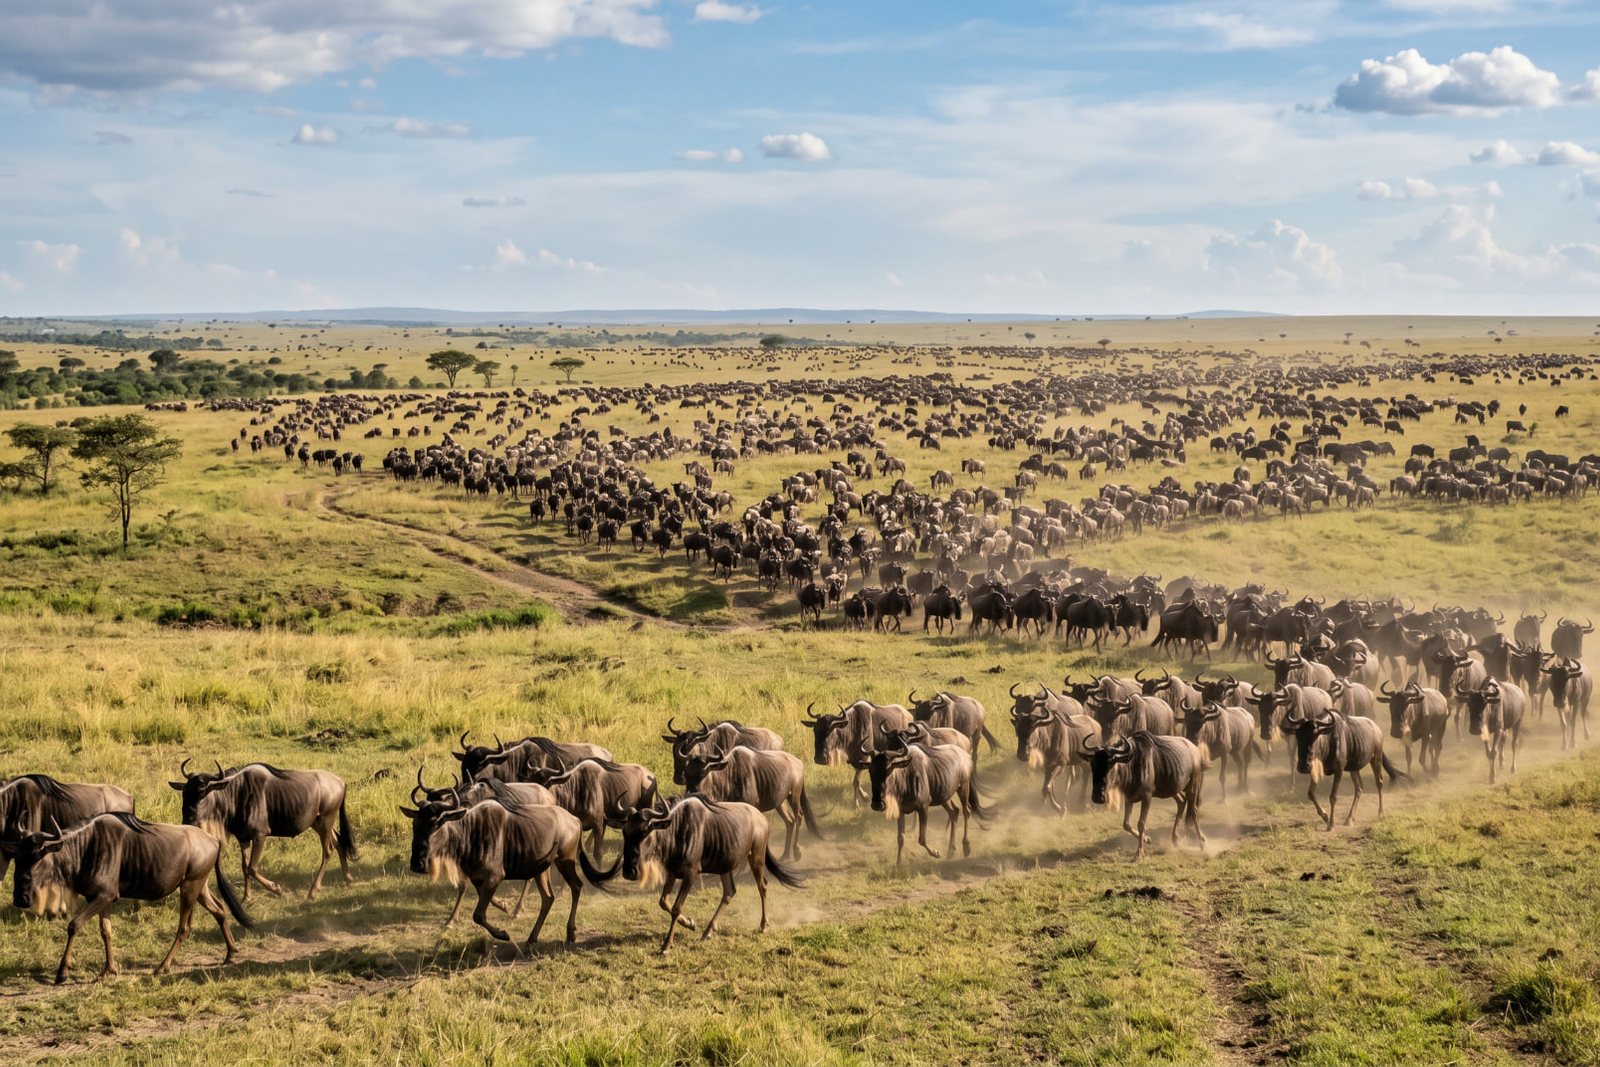
The best sighting of your trip is often the one you watch with your own eyes. Take the frames you want in the first two minutes, then lower the camera and listen — the sound of a herd moving past the vehicle is not something a photograph carries home.
About the author
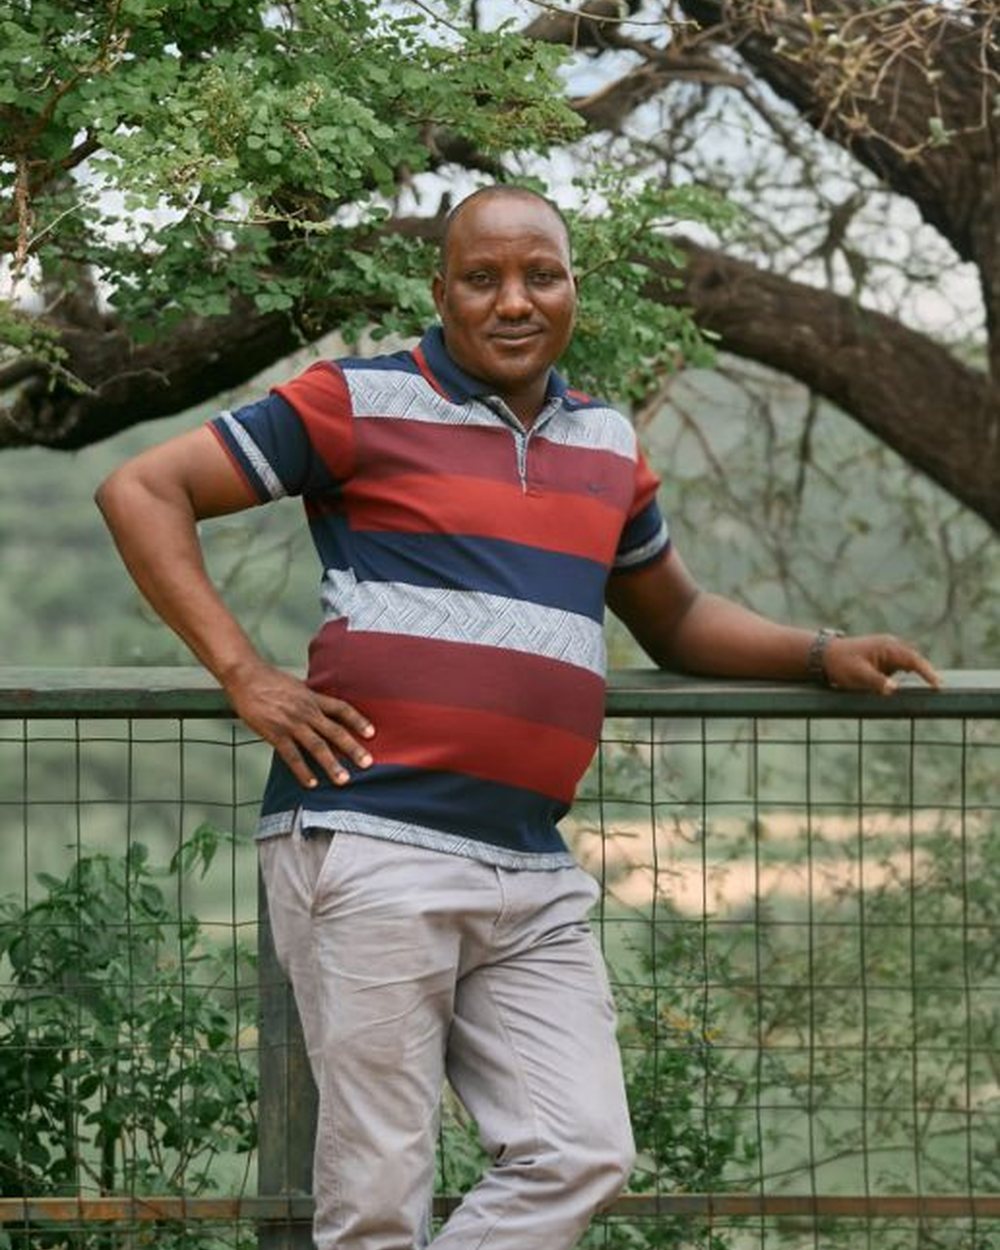
Isaac Sumary
Isaac is a Tanzanian safari guide from Arusha and the founder of both the Fruitful Orphanage & Day Care Center and Fruits & Love Safaris. He has been driving the northern circuit for over a decade, and 10% of every safari payment goes back to the children in his care. Reach him on +255 762 353 576 or isaacsumary@yahoo.com.
Planning a trip?
We run private safaris from Arusha and give 10% of every payment to the Fruitful Orphanage. Send us your dates and we will reply within 24 hours with a quote in USD.
Get a quote